

Introduction
Welcome to the Rawkhet Pokemon Trade Guide! If you’re new to trading with us (even if you’ve traded with others before), please take a moment to review this guide. It will help us ensure a smooth and hassle-free trading experience.
For any questions not related to trading, please see our Frequently Asked Questions page.
Services for XY, ORAS, Sun and Moon, and Ultra Sun and Ultra Moon have been removed following the discontinuation of online services for the Nintendo 3DS on April 8, 2024.
Jump to:
Better Trades
To ensure a fast and smooth trade, please take note of these important pointers:

- DO NOT TRADE junk Pokemon that will trade evolve (e.g. Kadabra, Haunter, Machoke, Graveler, Boldore, Gurdurr, Phantump, Pumpkaboo). Doing so will greatly delay trades as we’ll have to wait for the evolution animation to complete.
- Avoid trading us a Pokemon of the same species as the one we’re trading you. For example, don’t trade us an Eevee if we’re also sending you an Eevee. It can be confusing for us!
- Sort your boxes beforehand and identify the junk Pokemon you’re trading to save time during the trade.
- Our Trainer Name is always “Rawkhet”.
- Upon purchase, you’ll receive an email receipt, and trade details will be sent within 24 hours (usually less than 12). If you don’t receive these, please check your spam folder or contact us via any of our channels.
- Communication is crucial when setting up trades. You must be reachable so we can arrange the trade. Please ensure the email you provide at checkout is valid and accessible. If you prefer, you can also message us on a different non-email channel during collection if you’re unable to reliably use email (e.g., slow sending or receiving, no notifications).
During the Trade
With the exception of Pokemon Home (which doesn’t require junk), just send over junk Pokemon that you’ve caught for Pokemon that you’ve bought! Junk Pokemon are really just any Pokemon you don’t want.


For Legends Z-A
To trade in Pokemon Legends Z-A, you’ll need a Nintendo Account and an active Nintendo Switch Online subscription. Your Switch Friend Code is unnecessary.
- Press the [X] button to open the menu.
- Select Link Play.
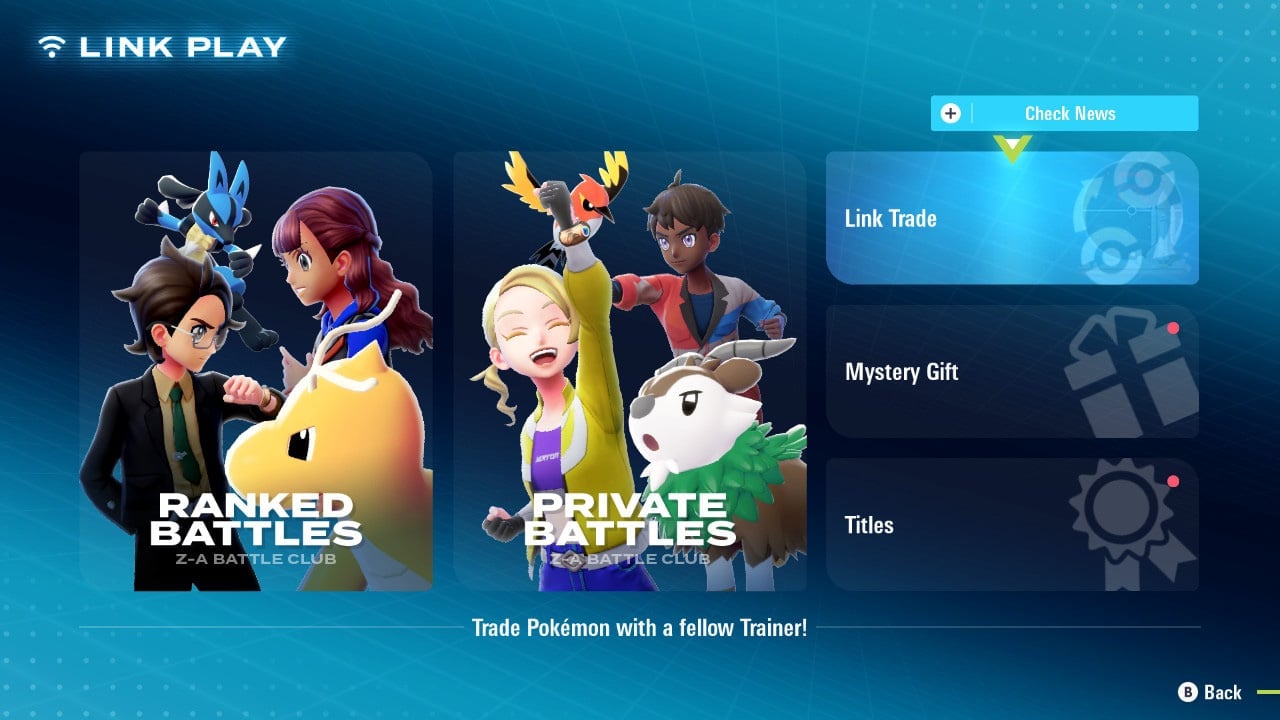
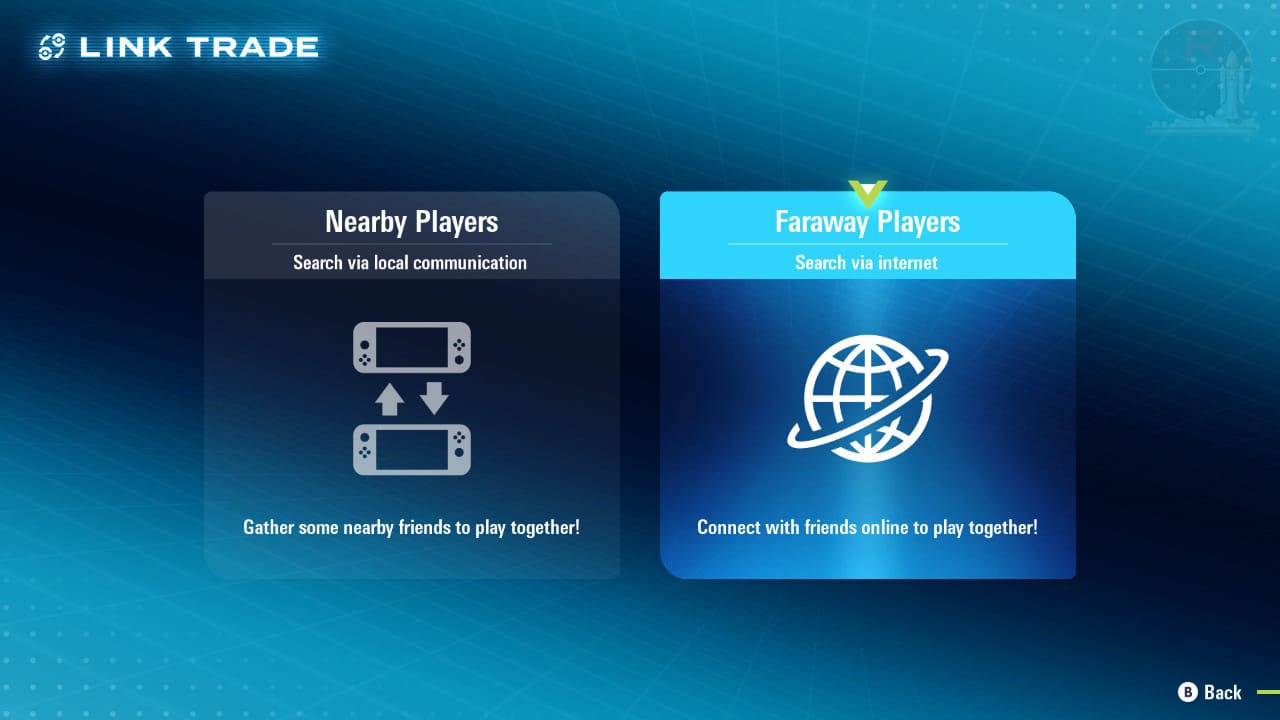
- Select Link Trade.
- Choose Faraway Players and enter the Link Code we provide when we’re ready to trade.
- If it says, “No one could be found!”, try a few more times, up to a minute. If we don’t connect within a minute, reply to let us know so we can troubleshoot, and keep trying.
For Scarlet & Violet
To trade in Pokemon Scarlet and Violet, you’ll need a Nintendo Account and an active Nintendo Switch Online subscription. Your Switch Friend Code is unnecessary.
- Press the [X] button to open the menu.
- Select Poke Portal.
- Press [L] to connect to the Internet. The top right should say “Online Mode” in green.
- Choose Link Trade and then Set Link Code.
- When you’re up in the Trade Queue, you’ll receive a Link Code that you can enter here.
- After entering the Link Code, select Begin Searching and wait for the trade to be established.
- If it says, “No one could be found!”, try a few more times, up to a minute. If we don’t connect within a minute, reply to let us know so we can troubleshoot, and keep trying.
- Special note: During the trade, you’ll need to hit [A] at the “Attention!” screen to progress, unlike in previous games.

For Sword & Shield
To trade in Pokemon Sword and Shield, you’ll need a Nintendo Account and an active Nintendo Switch Online subscription. Your Switch Friend Code and in-game Card Code are unnecessary.
- Press the [Y] button to open the Y-Comm.
- Press [+] to connect to the Internet. The top right should say “Internet“.
- Choose Link Trade and then Set Link Code.
- When you’re up in the Trade Queue, you’ll receive a Link Code that you can enter here.
- Wait for the trade to be established. Stay in the overworld and do not open any menus. It should say “Searching…” at the bottom left.
- IMPORTANT: If we don’t connect within a minute, please reply to let us know (no need to retry) so we can try another code.


Please ensure you have a stable Internet connection to trade. To check if you can trade online with Rawkhet (and others), do a Test Connection on your Switch (System Settings > Internet > Test Connection) and ensure that your NAT Type is A, B, or C (where A/B is ideal).
NAT Type D and F will NOT be able to connect with other players. Mobile hotspots from your iOS or Android device, public WiFi, and work/enterprise WiFi are usually NAT Type D. Use a different network or find troubleshooting steps on Nintendo Support.
For Legends Arceus
To trade in Pokemon Legends Arceus, you’ll need a Nintendo Account and an active Nintendo Switch Online subscription. Your Switch Friend Code is unnecessary.
- After becoming a First Star Member in the Survey Corps, you’ll gain access to the Training Post stall located between the Training Grounds and Galaxy Hall in Jubilife Village. This stall is in front of the crafting shop.
- Talk to the lady and choose “I want to trade Pokemon“.
- Select “Someone far away” and then enter the Link Code we provide when we’re ready to trade.
- IMPORTANT: If we don’t connect with you within a minute, please reply to let us know so we can troubleshoot the issue.


For Brilliant Diamond & Shining Pearl
To trade in Pokemon Brilliant Diamond and Shining Pearl, you’ll need a Nintendo Account and an active Nintendo Switch Online subscription. Your Switch Friend Code is unnecessary.
- After the first gym and going to the Pokemon Center basement for the first time, you’ll receive the ability to access the Union Room by pressing the [Y] button when not in a building.
- Press the [Y] button to open the Union Room (or go to the basement of any Pokemon Center).
- Choose the Global Room. If you only see Local, you’ve done something wrong.
- Select “Yes, with a Link Code” and then enter the Link Code we provide when we’re ready to trade.
- Once you’re in the Union Room, look for us and interact (hit [A]) on our character to begin the trade.
- IMPORTANT: If you don’t see us in the Union Room within a minute, please reply to let us know so we can troubleshoot the issue.
- SUPER IMPORTANT: The floor of the Global Room is BLUE. If your floor is green, you’re in the wrong place.


For Home (Moving Key)
To transfer Pokemon to Pokemon Home using a Moving Key, you’ll need a Home Premium Subscription. You MUST have this before claiming your Pokemon.
This transfer method involves us sending Pokemon from Gen 1-7 via Pokemon Bank on our 3DS to your Home account. Gen 8 Pokemon, which do not exist on the 3DS, cannot be sent through this method. Note that you do NOT need a 3DS on your side.
This method is compatible with the following listings:
- Past-Generations Living Dex
- Past-Generations Legendaries
- Ditto Package
- Unown Package
- Vivillon Package
Delivery from other listings, such as ones from USUM or SWSH, is NOT supported (explanation).
Unlike in-game trades, no actual trading is done. Upon providing the Moving Key, all Pokemon are moved into your Home account at once. No junk Pokemon is required.
- ONLY when prompted during collection, select Move in the main menu.
- Select Begin Move.
- Follow the steps until you see a Moving Key. Screenshot, take a photo, or copy the key and send it as fast as possible. We must enter it within 3 minutes.


- ONLY when prompted during collection, bring up the Menu and choose Options.
- Select Move Pokemon.
- Select Begin move!
- Follow the steps until you see a Moving Key. Screenshot, take a photo, or copy the key and send it as fast as possible. We must enter it within 3 minutes.


For Home (Nintendo Account)
To transfer Pokemon to Pokemon Home using your Nintendo Account, you’ll need a Home Premium Subscription. You MUST have this before making your purchase.
This transfer method involves us temporarily accessing your account and sending Pokemon from our game directly into your account. This method is compatible with the following listings:
- Legends: Z-A Living Dex
- Paldean Living Dex
- Galarian Living Dex
- Legends Arceus Living Dex
- BDSP Living Dex
- Let’s Go Living Dex
- The Paldea Dex
- The Galar Dex
- All SV Legendaries
- All SWSH Legendaries
- Alcremie Forms Package
Unlike the Moving Key variant, we are also able to send additional Pokemon with your order directly to Home. For example, if you purchase any listings using this method, you can add on listings meant for SWSH, BDSP, LA, SV, or ZA, and have them sent to your Home along with your order. Note that items cannot be stored on Home and will be ignored.
Unlike in-game trades, no actual trading is done. Upon providing your Nintendo Account details at Checkout, the Pokemon will appear in your empty boxes when we are done. No junk Pokemon is required. However, ensure you have enough consecutive empty boxes for us to load in or the order will be truncated.
Why this is safe
- You set a temporary password first and change it back as soon as we’re done. We never know your real one.
- Everything is verifiable. Nintendo emails you at each sign-in, and your account’s sign-in history shows exactly when we were there.
- We’ve delivered Pokemon Home orders this way since 2020, alongside 450,000+ trades since 2016.
- Your payment details never touch your Nintendo Account. Those stay with Stripe or PayPal.
- Rather not share access at all? Listings that support the Moving Key method don’t need it.
- Login to your Nintendo Account at https://accounts.nintendo.com/.
- Under [Sign-in and security settings], change your password to something temporary that we can use. Please avoid using complicated passwords. We have to type this out manually. Single words like “Password” work.
- Under [Sign-in method], make sure it is “E-mail address or sign-in ID“.
- Under [2-Step Verification settings], make sure it is “Not set“. If you have 2-Step Verification enabled, please remove the protection for the duration of this transaction. You can add it back after.
- Under [Passkey], please remove any currently registered Passkey and make sure it says, “No passkey set”. You can add it back after.
- Provide us with your Nintendo Account details at Checkout. Ensure the details provided allow us to login by checking again at https://accounts.nintendo.com/. If you can’t log in, neither can we.
- If your Nintendo Account is not in the same country as your Billing Address (e.g., you live in Brazil, but your Nintendo Account is set to the United States), please write the country in Order Notes at Checkout.
- Within 24 hours (generally less), we will transfer the Pokemon directly into your Pokemon Home account and let you know when the transaction is complete.
- We’ll sign out of your account automatically, but you can confirm this by additionally pressing “Sign out” in your Nintendo Account page, under [Sign-in history]. You can then change your password and re-enable 2-Step Verification if required.
For Let's Go Pikachu & Eevee
To trade in Pokemon Let’s Go, you’ll need a Nintendo Account and an active Nintendo Switch Online subscription. Your Switch Friend Code is unnecessary.
- Open the game menu and select “Communicate,” then “Play With Others“.
- Select “Faraway Player (Internet),” then “Link Trade“.
- Enter the Pokemon combination sent by email to establish a connection with Rawkhet.
- Note that both parties must enter the code simultaneously. Communication is extremely important.


